With WP CLI it’s easy to manage your WordPress installation like a pro. It simplifies complex actions which would otherwise require more time or additional plugins.
Table of Contents
What is WP CLI?
Whether you’re on Windows or Mac or Linux, there’s a command-line interface that can be used to manage the entire system.
The same is true for WordPress: commands entered on the WP-CLI can be used to install and configure WordPress, manage plugins and themes, and also accomplish complex tasks which would otherwise require an additional plugin, like exporting users from the WordPress database.
WP-CLI can be installed and used on hosting accounts that have SSH access enabled (Linux), or that give access to a command prompt (Windows). Or just run it on your local machine.
WP CLI requirements
Since WP-CLI without WordPress is a bit pointless, you’ll need to ensure that your system is capable of running WordPress. You’ll need a:
Web server (like IIS on Windows or Apache on Linux) running PHP
MySQL database
If you intend to use WP-CLI to install WordPress, check that you have a virtual host (vhost) configured and, depending on your system, that you have the domain name configured in your hosts file.
Directory permissions
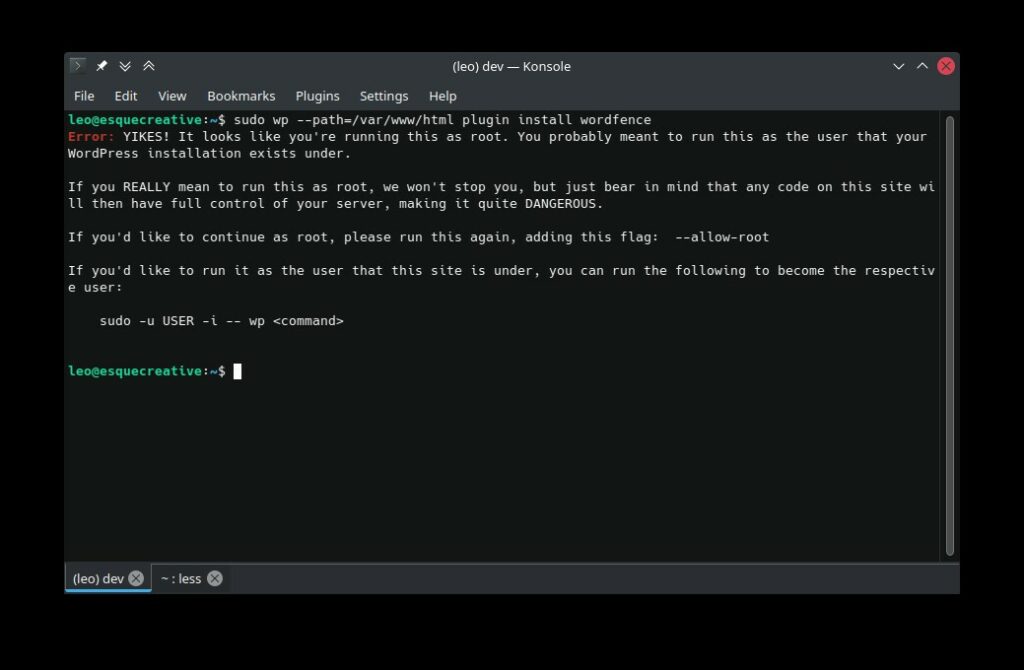
WP-CLI needs write access to the document root of the website you want to install. Under normal circumstances you can run commands that require elevated privileges with sudo. But WP-CLI is somewhat touchy about it, and accompanies sudo commands with a neat little warning:
There are a few ways around this, but for the sake of simplicity I’ll just add myself to the web server group and then enable write access to the document root for the group.
Set the owner and group of the document root to the web server user:
sudo chown www-data: /var/www/html -R
Add your user to the web server group:
sudo usermod -aG www-data leo
Allow group write access to the document root:
sudo chmod g+w /var/www/html -R
Once WordPress is installed, you can optionally limit group write access to those directories that need to be writable (e.g. wp-content/plugins, etc.).
Installing WP CLI
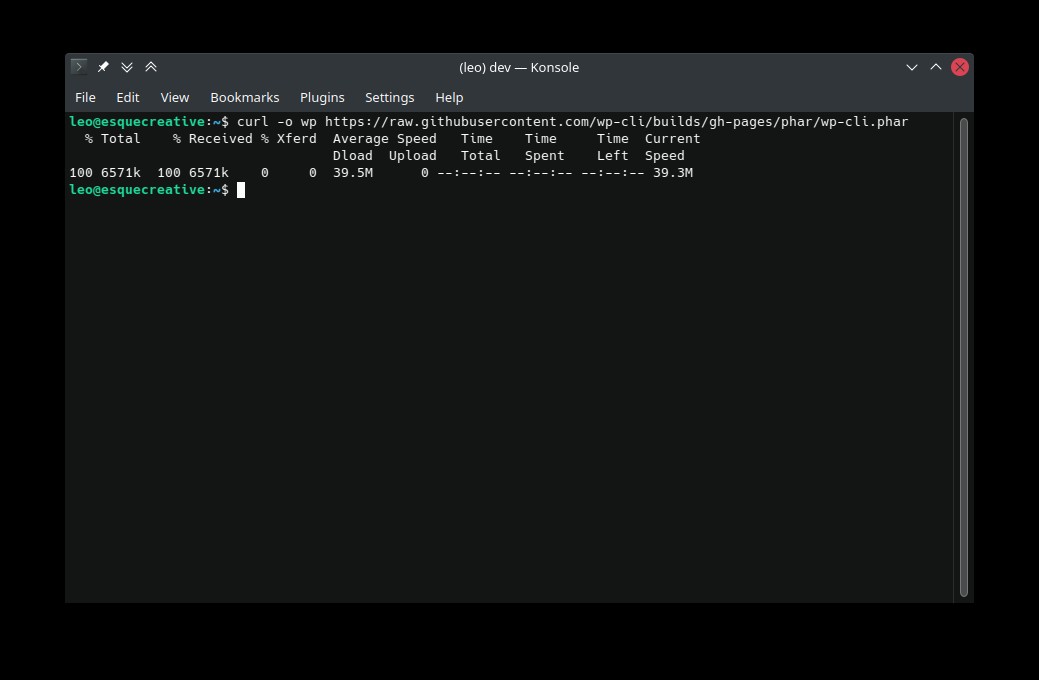
Installing the WP-CLI is easy and can be done in a few easy steps.
The -o option tells curl to output the content of the URL to a file – in this case a file called wp. Omitting -o will, under normal circumstances, output the content of the target URL to your terminal.
Step 2: Make it global
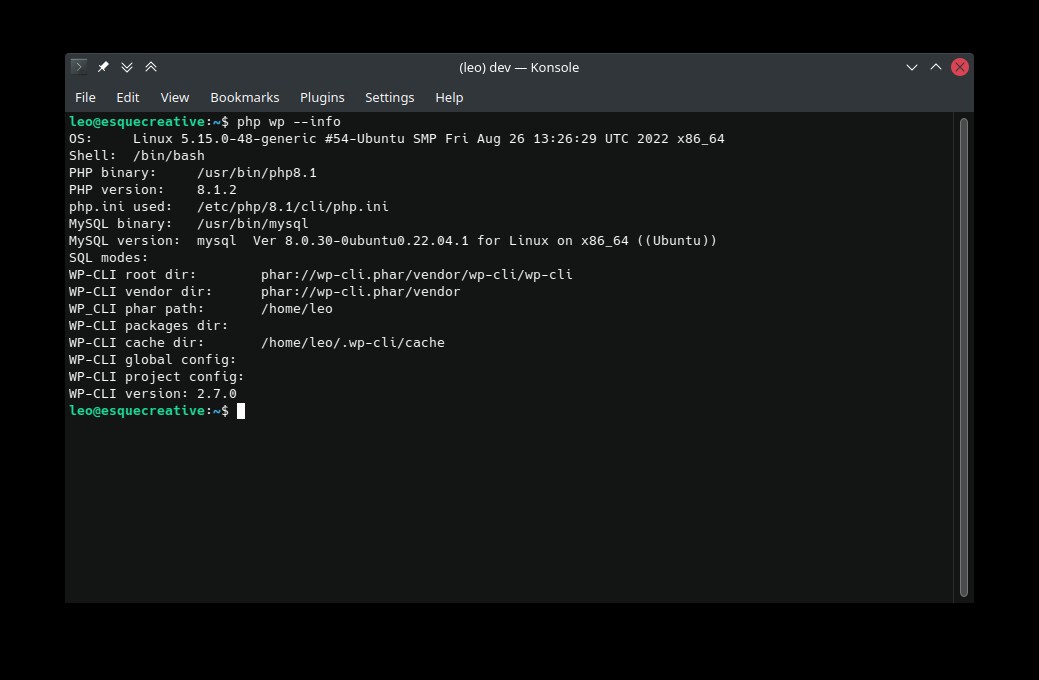
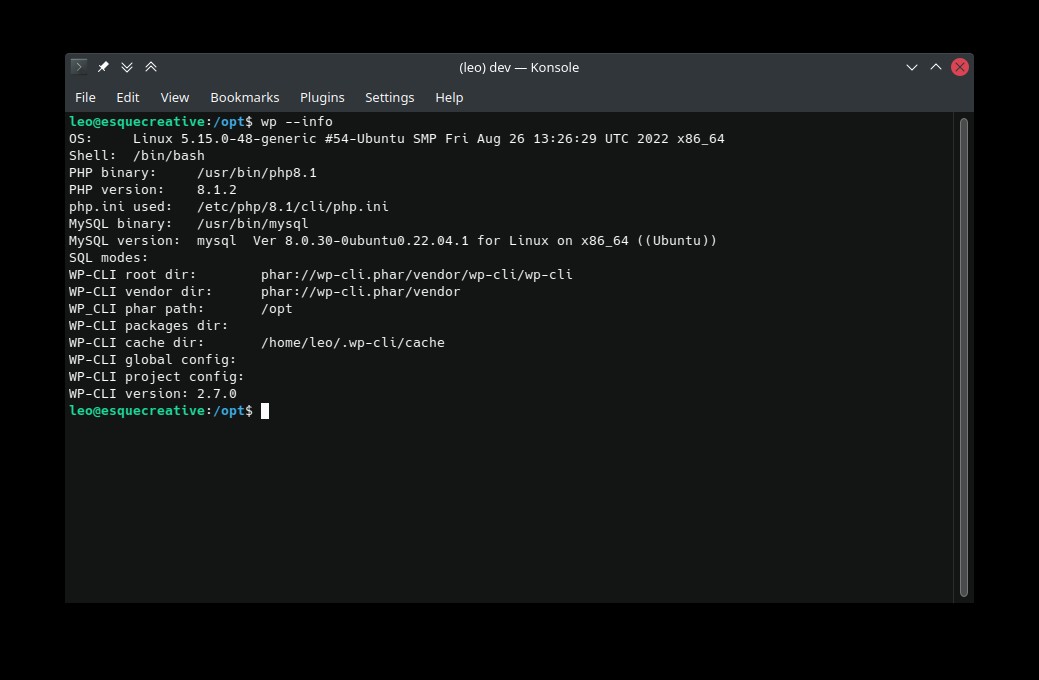
At this point we can run a basic command to check that WP-CLI is working properly:
php wp --info
If all’s well, you should get output similar to:
Strictly speaking, WP-CLI is now installed and ready to run. You could run commands using the following format:
php wp [command]
But given that you’re likely to spend a lot of time using WP-CLI, it’s not very efficient.
Let’s simplify:
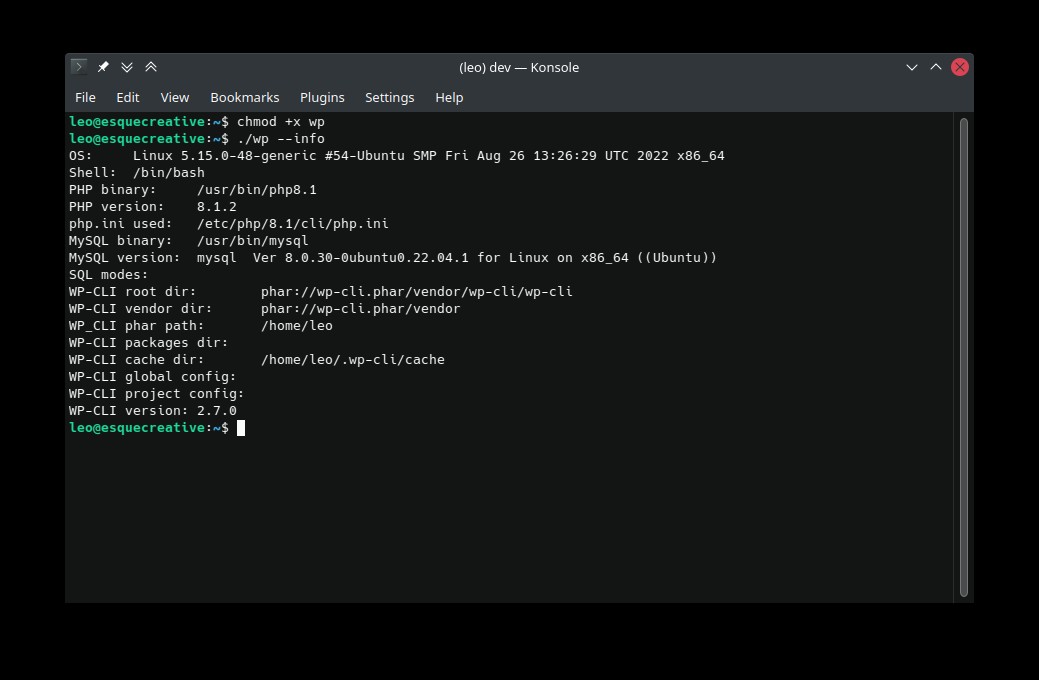
Make wp executable:
chmod +x wp
We can now run wp from the directory where it’s located without needing the php command to execute the script:
./wp --info
But, if we want to run the WP-CLI without making any further changes, we’ll always have to refer to the directory where the wp executable is located (e.g. /home/leo/wp).
This can be made a little more efficient by moving the wp executable to a location where it can be run globally:
sudo mv wp /usr/local/bin
Test that everything works correctly by running wp --info from any directory:
wp --info
Step 3: Enable tab completion
With tab completion enabled the shell provides options for a given command, and also completes partially-typed commands. We can enable tab completion for the WP-CLI with the following steps:
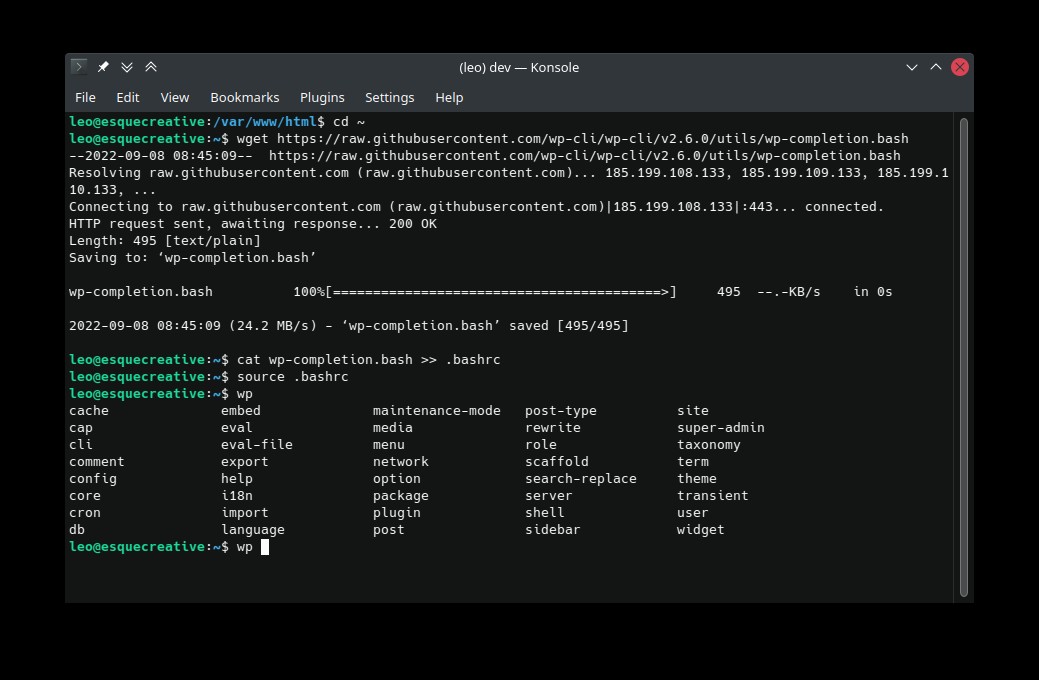
Append the content of wp-completion.bash to your .bashrc file:
Important: Use ‘>>’ to append the content of completion.bash to .bashrc. A single ‘>’ will overwrite the content of .bashrc.
cat wp-completion.bash >> .bashrc
Next, commit the changes:
source .bashrc
Typing wp followed by a double-tap of the Tab key should now present a number of command options. These include cache, embed, maintenance-mode, and so on.
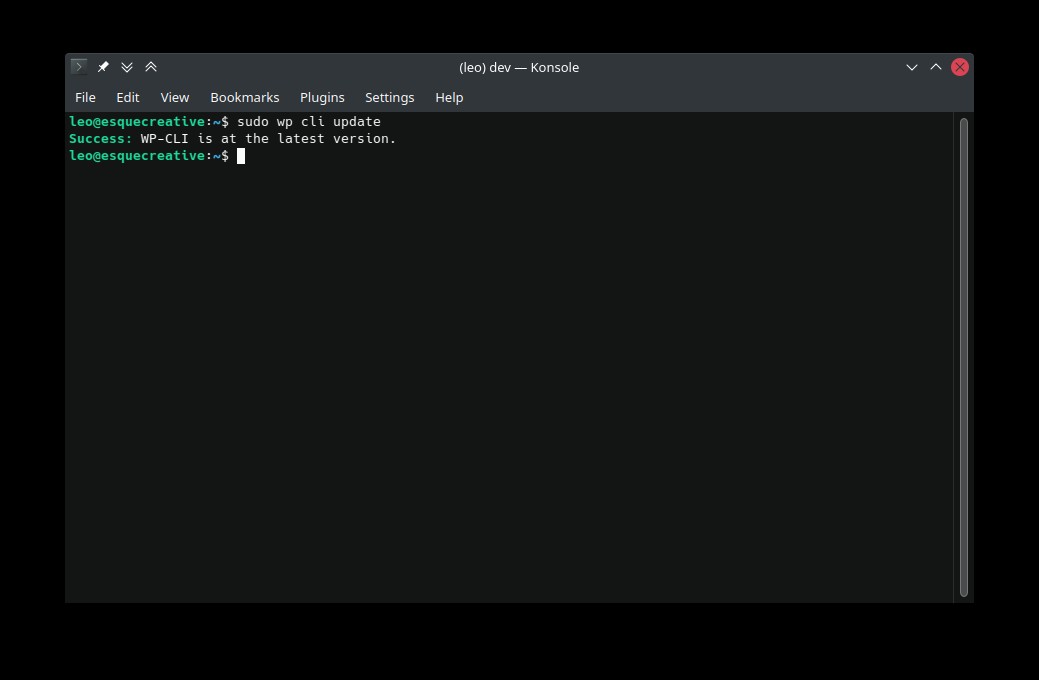
Finally, we can keep WP-CLI updated by periodically running the wp cli update command. Since your user account doesn’t have the necessary permissions to write to /usr/local/bin, you’ll have to run the command with elevated privileges:
sudo wp cli update
WP CLI: Common WordPress Tasks
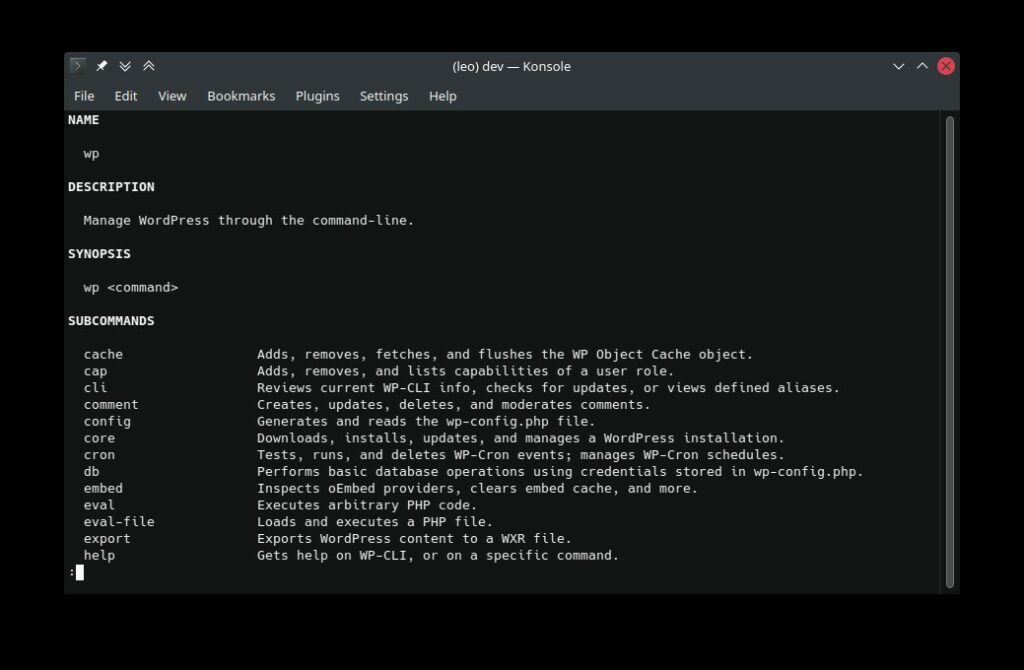
With WP-CLI installed we can cover a few common WordPress tasks from the command line. For a full list of available commands, you can use the wp help command:
wp help
Note: Unless you’re in your site’s document root (where the WordPress files are located), you’ll have to pass path= with every command to tell WP-CLI where your WordPress installation is located – handy when you’re managing multiple WordPress installations on the same server.
Here’s an example of using --path= to install the Wordfence plugin:
wp --path=/var/www/html plugin install wordfence
Install WordPress with WP CLI
Let’s start by installing WordPress. Installing WordPress with WP-CLI has three steps:
Note: It is assumed that you’ve already created a virtual host for your website, and that you’ve created a MySQL database for your WordPress installation.
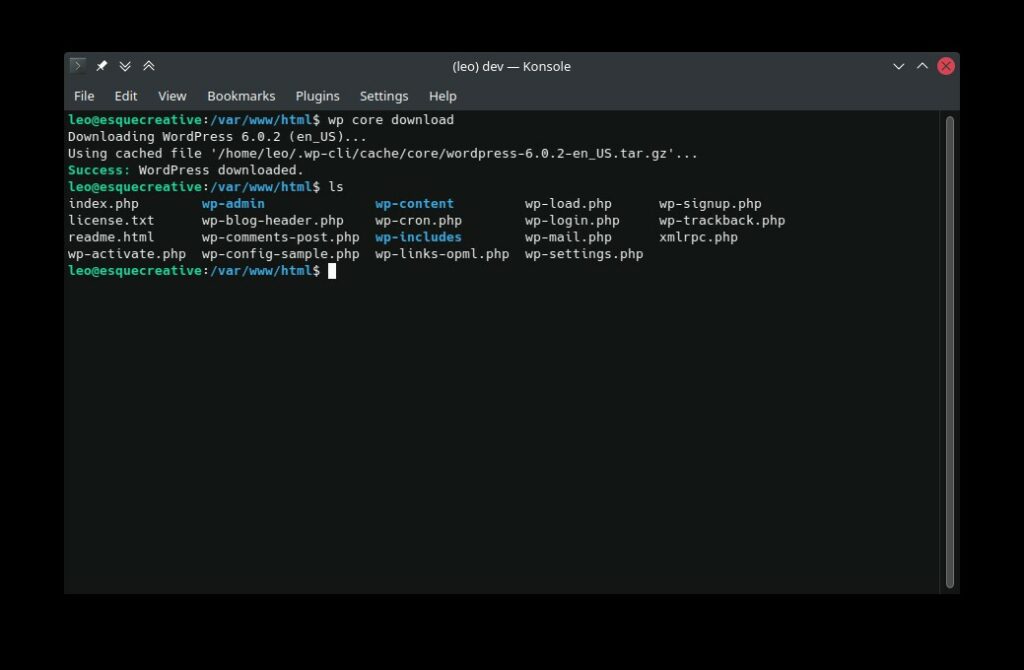
Download WordPress from the document root:
wp core download
Alternatively, if we want to install WordPress in /var/www/acme from our home directory:
wp --path=/var/www/acme core download
The task should complete with Success: WordPress Downloaded. When we list the contents of the directory, we’ll see the standard collection of WordPress files and directories.
Run the setup:
Next, we need to create the wp-config.php file which contains, among other things, our database credentials:
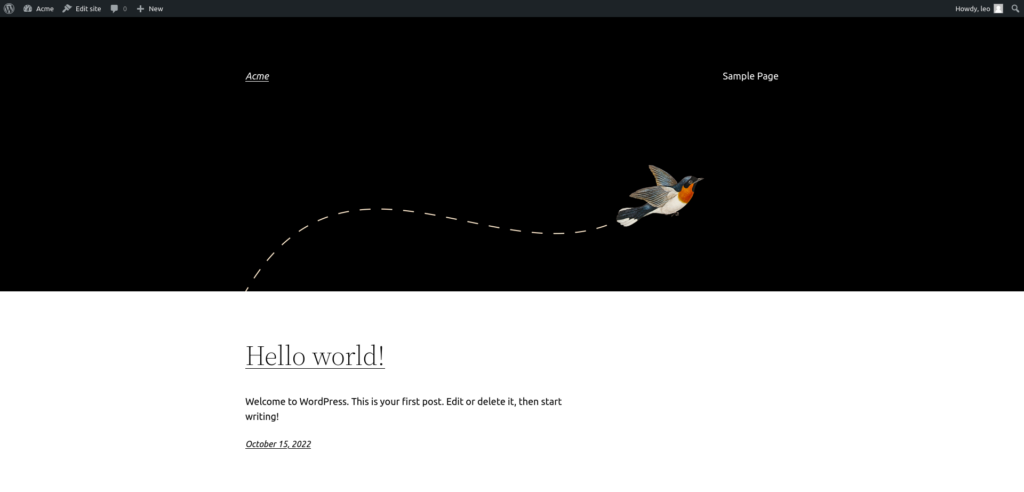
Again, replace the credentials after ‘=’ with your own. If all went according to plan, the command will complete with “Success: WordPress installed successfully.” Open your new WordPress website in your browser to see the fruits of your labour.
Manage plugins with WP CLI
To view all available plugin sub-commands, use the following command:
wp help plugin
Or, to get more information on a plugin sub-command, use wp help plugin sub-command. For example:
wp help plugin auto-updates
Search for a plugin:
wp plugin search plugin_name
Install a plugin:
wp plugin install plugin_slug
Install and activate a plugin:
wp plugin install --activate plugin_slug
Deactivate a plugin:
wp plugin deactivate plugin_slug
Remove a plugin:
wp plugin delete plugin_slug
Enable auto-updates for a plugin:
wp plugin auto-updates enable plugin_slug
Manage themes with WP CLI
Search for a theme:
wp theme search theme_slug
Install a theme:
wp theme install theme_slug
Install and activate a theme:
wp theme install --activate theme_slug
Deactivate a theme
Activate a different theme
Remove a theme
wp theme delete theme_slug
Enable auto-updates
wp theme auto-updates enable theme_slug
That’s it for the basics. WP-CLI is an incredibly powerful and useful tool, a must for anyone managing multiple WordPress sites on the same server, or when you want to save time managing a single site.